- 1-Benefits-of-Making-DIY-Toys-at-Home
- 2-Essential-Materials-and-Tools-for-DIY-Toys
- 3-Step-by-Step-Guide-to-Creating-Your-Own-Toys
- 4-Creative-Ideas-and-Inspiration-for-DIY-Toys
- 5-Where-to-Find-Resources-and-Support
1. Benefits of Making DIY Toys at Home
Learning how to make your own DIY toys at home offers numerous advantages for both parents and children. Beyond saving money, creating toys together fosters creativity, strengthens family bonds, and promotes sustainability by reusing materials. Homemade toys often carry sentimental value, becoming cherished keepsakes that reflect personal effort and imagination.
1.1 Encouraging Creativity and Learning
When children engage in the process of crafting toys, they develop problem-solving skills, fine motor coordination, and artistic expression. For parents, this hands-on activity provides a meaningful way to nurture their child’s growth while customizing toys to suit their interests and developmental stage.
1.2 Environmental and Economic Impact
DIY toys reduce reliance on mass-produced plastic items, helping to minimize waste and environmental harm. Additionally, using household items or inexpensive supplies makes DIY projects budget-friendly, allowing families to enjoy unique playthings without the high cost.
2. Essential Materials and Tools for DIY Toys
Knowing what materials and tools to gather is a crucial first step in learning how to make your own DIY toys at home. Most projects use simple, accessible items that you might already have around.
2.1 Common Materials
Materials such as cardboard, fabric scraps, yarn, wooden blocks, recycled paper, glue, and non-toxic paints form the foundation of many DIY toys. Incorporating natural elements like pinecones or shells can add texture and interest.
2.2 Basic Tools
Tools like scissors, glue guns, markers, needles and thread, and craft knives enable precise shaping and decoration. Safety is paramount, so always supervise children when using sharp or hot tools.
3. Step-by-Step Guide to Creating Your Own Toys
To successfully make DIY toys at home, following a structured approach ensures both fun and functionality.
3.1 Plan Your Project
Begin by choosing a toy type that matches your child’s age and interests. Sketch your design and list required materials to prepare efficiently.
3.2 Gather and Prepare Materials
Collect all items in one workspace. Clean and cut materials to size before assembling, which streamlines the crafting process.
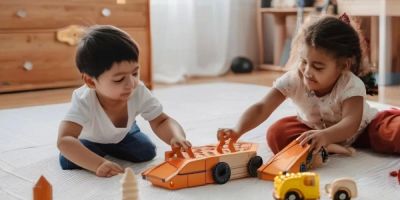
3.3 Assemble and Decorate
Use glue, stitches, or fasteners to put pieces together securely. Encourage creativity by adding colors, patterns, and textures. For example, making a simple cardboard car can be enhanced with painted wheels and paper decals.
3.4 Test for Safety and Playability
Ensure there are no sharp edges, loose parts, or toxic substances. Test the toy’s durability and observe how your child interacts with it to adjust the design if needed.
4. Creative Ideas and Inspiration for DIY Toys
Inspiration can come from everyday objects and classic toys reinvented with a personal touch.
4.1 Upcycled Plushies
Old clothes or socks can be transformed into soft toys by stuffing and sewing simple shapes, adding button eyes and embroidery for personality.
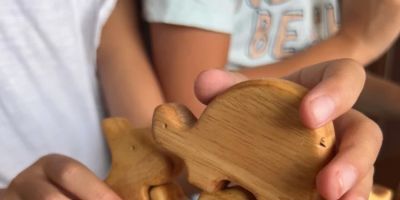
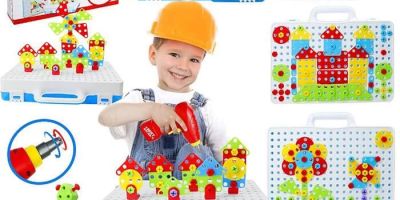
4.2 Educational Puzzle Boards
Use wooden scraps or sturdy cardboard to craft puzzle boards with shapes or letters, which help young children develop cognitive skills.
4.3 Nature-Inspired Mobiles
Combine twigs, leaves, and feathers to create hanging mobiles that stimulate sensory exploration and decorate playrooms naturally.
5. Where to Find Resources and Support
For those eager to dive deeper into how to make your own DIY toys at home, Knight Toys is an excellent platform. Here you can discover curated materials, tutorials, and professional advice tailored to all skill levels. Whether you seek inspiration or supplies, Knight Toys connects you to the best resources, helping your creative projects come to life with ease and confidence.